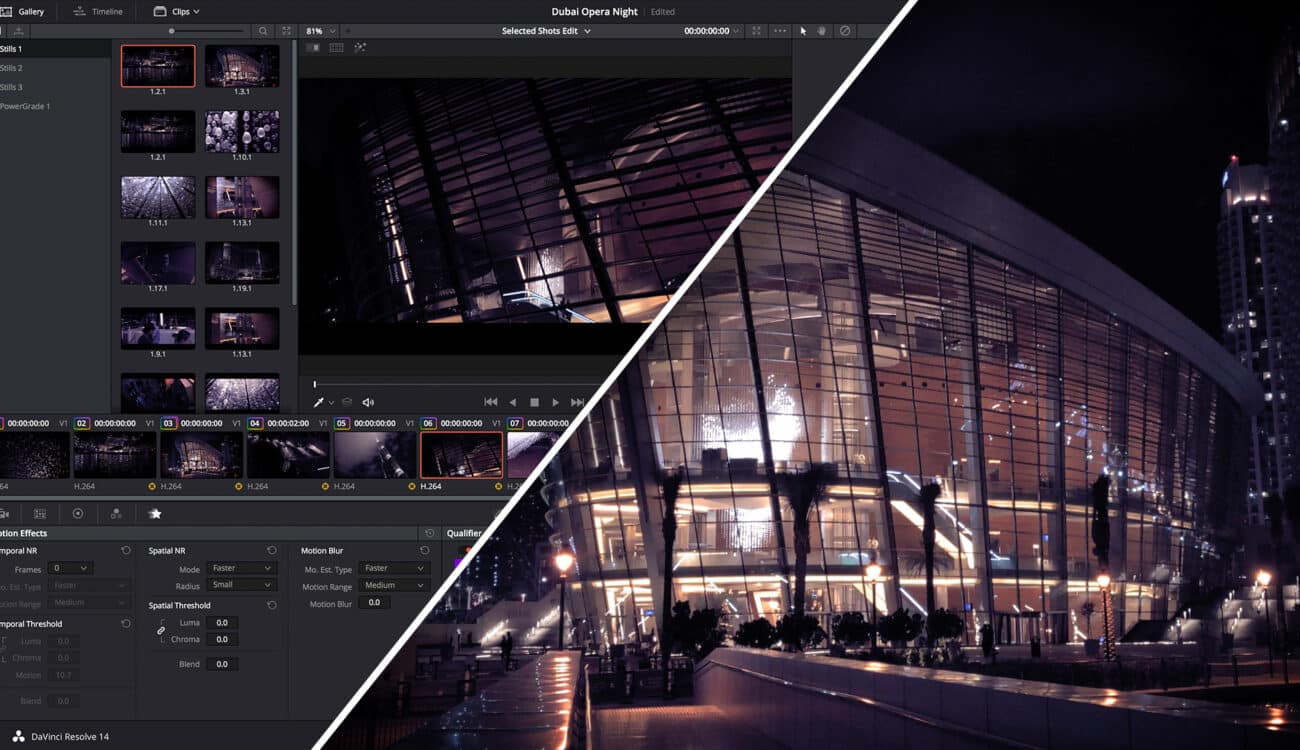
Shooting quality low light iPhone footage is not only possible, it can actually work well. Here are some tips for achieving some great results.

First of all, I need to say the video below was shot with the utmost skepticism that anything useable would come of it. It is, however, a great example of how your smartphone can turn any outing into a story. I was at the Dubai Opera for a show with no intention of shooting anything until I arrived. I figured I might as well use up what battery life I had left and take advantage of the beautiful surroundings.
Here’s the somewhat accidental result after editing and grading in Resolve.
How To Shoot Great Looking Low Light iPhone Video
The next video below is a full tutorial which reverse engineers the above video. I’ll show you how I set up FiLMiC Pro for this shoot, and dive deeper into noise reduction in DaVinci Resolve.
Keep Your ISO Low
The biggest enemy of getting acceptable results when there’s really not enough light is noise. Under-exposure means gain, and gain means noise, and noise – when it comes to video shot with a smartphone – usually means the shot is unusable. I have pretty much zero tolerance for noise, and I won’t think twice to throw out the shot. Many shots won’t make the cut and, in the case of an experimental shoot like this, if too many shots are noisy I won’t bother cutting anything at all.
What I’ve learned shooting with a phone is there is a golden rule when it comes to noise, and the golden rule is lock your ISO as low as possible. In this case, the interior shots were locked at ISO 22, and exterior shots further away from the light spilling out of the building were at a maximum ISO of 125.
Flicker – Be Careful of Lighting Power Frequency
I normally shoot at 24fps, but in this case the building’s interior lighting was all the light I had, and some of it is not flicker free as it’s driven at 50Hz. This meant I needed to shoot this video at 25fps instead. It’s important to adjust your frame rate, or sometimes your shutter speed, to avoid flicker.
Shutter Speed – Go Slow
When there’s not enough light to get a good exposure at your standard 180 degree shutter (this would be 1/50th sec at 25fps) then don’t be afraid to shoot at minimum shutter speed. In this case most shots are at 1/25th sec shutter speed. This gives you a full stop increase in exposure compared to locking at 1/50th sec. A bit more motion blur is better than video noise. Noise can kill a shot, but as long as you keep your phone steady, a bit of motion blur on subjects moving through your shot is not going to be a big problem.
Let Go of the Shadows – Use the Light
Just let it go. You’re not going to get any usable information out of the deepest shadows. Even protecting your mid-tones can be touch-and-go depending on the shot. What you will get are the highlights, and you should try and find shots where the brightest lit highlights help define the shapes, areas and action you want to capture.
If light is spilling against a wall, use it. In the case of the Dubai Opera, there is a massive chandelier hanging down through multiple stories providing some light that reflects back off the polished marble floors and glass. Architectural lighting inside or outside a building can provide all kinds of possible interesting shots, and angles where you can find acceptable exposure.
Go Easy on Noise Reduction
It happened with this video that many shots didn’t really need any noise reduction. However, I did use DaVinci Resolve’s temporal noise reduction in the luma channel only, with frame averaging at 1 frame, and luma threshold of 20. This is pretty light when it comes to NR, but it was enough to clean up the noise. If you have time, you can use power windows, qualifiers or a combination to mask and get more selective over which parts of the image you tackle with noise reduction.
Know the Limits
The one thing I always keep in mind shooting with my iPhone regardless of lighting conditions is that it’s a device with limitations. If you know and understand the limits, you can compose shots that avoid the limitations and give you good results by playing to the capabilities of a smartphone image sensor. These are always going to be the shots that come out best, and that you’ll end up using.
Give it a try and let us know what kind of results you get. Feel free to ask questions in the comments and let us know what you think of these techniques.


Recent Comments