The
iPhone 11
and
11 Pro
are two of the
best phones
you can buy today for recording video. The iPhone has a strong history of shooting good-looking
videos
. While other
phones
like the Samsung Galaxy S20 Ultra,
Huawei P40 Pro
and
Google Pixel 4 XL
can go toe-to-toe with the iPhone in regards to photos,
Apple’s
video prowess is largely unmatched by any other phone-maker in terms of recording options, image quality and color accuracy. (The Sony Xperia 1 II is another great option for video.)
Yes, a dedicated camera like a Sony RX100 or a mirrorless camera like the Panasonic GH5 or Sony A7 III will capture better-quality video and allow you more native customizations, and yet none is as convenient as your phone. The size of an iPhone and the ease of use allow you to capture authentic and personal moments on the fly.
With new dual and triple rear cameras, respectively, the 11 and 11 Pro add more versatility to an already solid video setup. You can switch cameras to get closer or farther away from your subject even while you’re recording. And the new iPhones shoot sharper video with colors that are truer to life compared with video from previous-generation Apple phones like the
iPhone X
and iPhone XS.
All that being said, here are dozen-plus tips to make filming on your iPhone easier and on how you can capture results that look and sound better.

Always make sure your phone has storage space before recording any new videos.
1. Beware of which way you hold your iPhone
If you want to shoot video in landscape, that’s fine. If you want to capture vertical video that’s cool, too. Be thoughtful of where you’re planning to post or share your videos. If you’re uploading to YouTube, then a horizontal orientation works best. If you’re posting to Instagram, vertical videos look better. If you’re just sharing stuff with friends, be willy-nilly about it all. But if you’re going to be editing a few video clips together, make sure you’re holding the phone the same way for each clip. This will make editing them far easier and spare you any “black bars.”
2. 4K video is the way to go
Your iPhone can record at 720p, 1080p and 4K. For the absolute best video image quality, 4K resolution is the best choice. If you don’t care about quality as much and are more focused on how much room on your phone videos will take up, try dropping your resolution down to 1080p or even 720p.
If you’re running
iOS
13.2 or newer, you can quickly change the resolution inside the default Camera app. Just tap the resolution and frames per second (fps) icon in the corner of the camera viewfinder. You can toggle through 4K, HD and 720.

Watch this: Up your iPhone video game with these 4 tips
02:04
For even more control and options, go to the Settings app and then tap on Camera. From there you can change resolution and frame rate as well as recording formats, stereo audio and grid overlay, among other things.
3. Change the frame rate to suit your subject and where you post
The iPhone 11 and 11 Pro can shoot 4K video at 24, 30 or 60fps. Most movies are filmed at 24fps, giving them that cinematic flicker. If you are recording a vlog for YouTube or something you’re going to post to Facebook or Instagram, 30fps is fine. 60fps is great for shooting activities like sports, or something with lots of motion.
In good lighting, 60fps makes your video look really sharp. After you record a video at 60fps, you can use an editing app like iMovie, Final Cut Pro X or
Adobe
Premiere Pro to slow things down to half speed, 30fps. This will give the motion in your footage a dreamy feel.
My default setting for video on an iPhone is 4K at 24fps.
4. Slow motion on the iPhone is good, but be smart about it
It is bonkers that you can capture slow-motion footage with an iPhone 11 or 11 Pro up to 40fps at full HD — 1080p. That said, if you’re using a high frame rate like this, your video needs a lot of light.
Slow motion + ultra wide + jumping dino pose = amazingness. @fleezee pic.twitter.com/77z6h4p1VB
— Patrick Holland (@trickholland) November 1, 2019
Beware of artificial lighting because it will give your slow-motion video a strobelike flicker. This makes recording slow motion tricky indoors.
If you’re playing back a slow-motion video you shot on your phone it will look pretty good. But once you start looking at it on a bigger screen like a computer or TV, you’ll be able to see some of the flaws.
5. Take control of the Auto Exposure and Auto Focus
If your video looks too bright in the Camera app’s viewfinder, you can decrease the exposure to keep people’s faces from turning into blobs of light. But to do that, know that auto exposure and autofocus are tied together on the iPhone. In fact, that’s the way it is by default on most phones aside from the new Google Pixel 4 and Pixel 4 XL.
To fine-tune your exposure, tap the display where you want to focus. Hopefully that’s on your subject. A yellow focus/exposure square will appear. Use your fingers to slide the brightness icon up or down until your subject looks well lit.
Compare photos from the iPhone 11 Pro against last year’s iPhone XS
If you want to lock your exposure, tap and hold on the screen until the yellow focus/exposure square pulsates and “AE/AF LOCK” appears on your screen. AE/AF LOCK stands for auto exposure/autofocus lock. The iPhone will keep these settings until you touch the screen again or adjust the brightness slider further.
6. Not all zooming is created equal
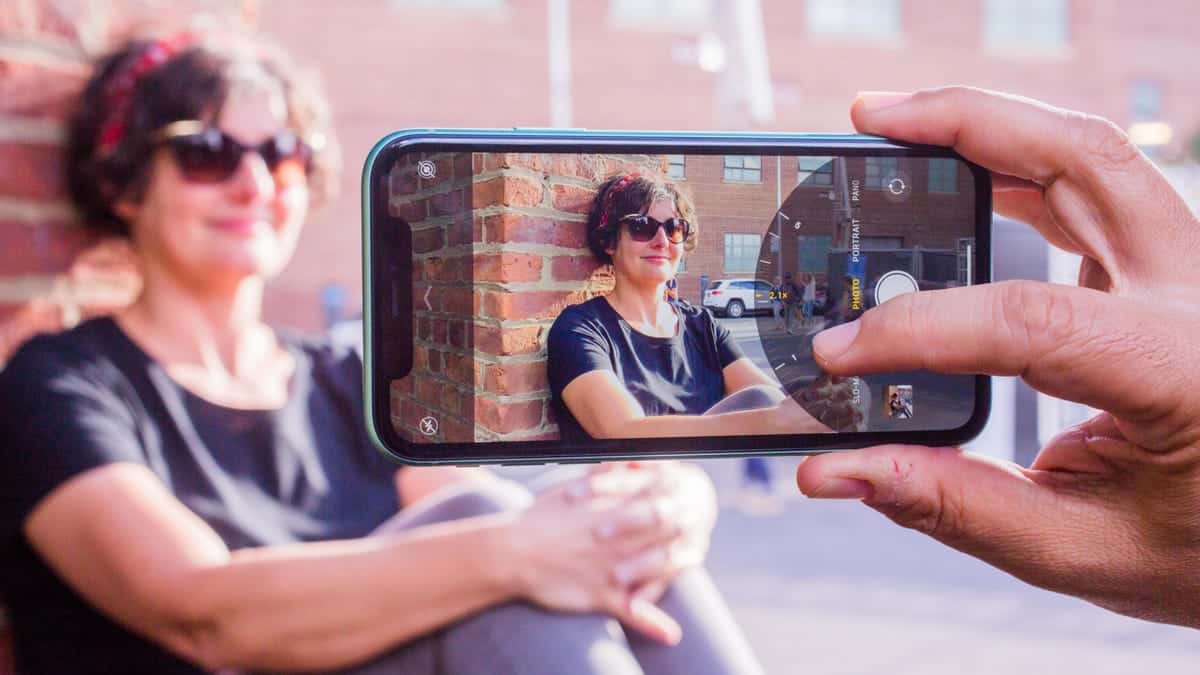
An iPhone, like most camera phones, has both optical zoom and digital zoom. Optical zoom is when the camera shoots at its natural magnification. The iPhone 11’s main camera has 1x magnification and the ultrawide-angle camera has 0.5x magnification. The 11 Pro has a third “telephoto” camera with 2x magnification. When you film at any of those magnifications, you get the best optical quality available to you.
Otherwise, if you zoom to, say, 1.9x or 6x magnification, you’re actually using digital zoom, which can degrade the image quality, making it look soft and blotchy. As a rule, I try to stay at 1x, 2x or 0.5x on the iPhone 11 Pro and 1x and 0.5x on the iPhone 11.
With that said, a little digital zoom in good lighting isn’t going to degrade your video’s image quality too much. For example, if I’m on the iPhone 11 Pro I feel comfortable shooting at 3x in bright situations. The same applies to the iPhone 11, where recording video at a 2x magnification will look decent still.
7. The iPhone’s new Zoom Dial makes zooming look better
Rarely when I’m recording a video do I switch between cameras. But sometimes it’s better to do so than miss a moment. There are several ways to zoom in and out while recording. You can tap the magnification button near the shutter button to change cameras. It’s almost like a TV talk show when they cut from one camera to another.

A new dial makes it easy to zoom smoothly and precisely.
You can of course pinch to zoom, but that isn’t very precise and can move the framing of your video. But now with iOS 13, there is a Zoom Dial that lets you use your thumb or finger to zoom in and out in a buttery-smooth motion. Simply tap and hold on the magnification button — 1x, 2x or 0.5x. Then, slide the dial one way or the other to zoom in or out.
8. QuickTake brings Instagram-style video recording to the Camera app
If you need to film video fast and don’t have a moment to switch from photo mode to video mode, Apple has the solution for you. Simply press and hold the shutter button to record video. It’s similar to the way you can record videos on Instagram or Snapchat. As soon as you let go, it stops recording. If you want to lock the shutter button down to continue recording, drag your finger from the shutter button to the lock.
9. You have many ways to edit your video from the Camera app
For the first time ever, you can rotate a video or change the crop, color or exposure of your videos without a third-party app. iOS 13 basically brings all the editing tools available for photos and lets you apply them to the videos you record.
To get into edit mode, select your video from your camera roll or the Photos app and then hit the Edit button. If you tap the crop tool, you can rotate videos filmed in the wrong orientation or just level out a video you shot crooked. You can also adjust exposure, highlights, shadows, saturation, contrast and other aspects of the video.
You also have video filters you can add and a slider to mix how strong you want the filter to be on your video. Just know that the longer your video is, the longer it will take your iPhone to apply these edits and changes.
10. Trim the beginning and end of your video clips
Phone apps like iMovie and LumaFusion can stitch multiple video clips together as well as add music and transitions, but you can trim the beginning and end of your clips straight from the camera roll.
To do so, select your video in the camera roll or Photos app and tap Edit to enter editing mode. From there press and hold on the video timeline below your video and slide your finger at the same time. You’ll see a yellow outline around the video timeline that will slide left or right with your finger. This works for editing both the beginning and end of a clip. When you’re finished tap Done.
11. Embrace selfie video for vlogging
The front-facing camera on the iPhone 11 and 11 Pro is quite wonderful. For the first time on the iPhone the front camera and the back ones are equally matched. Selfie videos even have extended dynamic range just like the back and can record in 4K. This is perfect for vlog-style videos.
12. Improve audio with an external mic
This is where things get tricky. Videos are only as good as the audio. Another way of putting that is, bad audio can ruin a great video. The onboard mics on the iPhone are decent for recording. The trouble is, you want your subject close to the microphone built into the phone but far enough away to have the framing and focus look good.
An easy solution, especially if you’re vlogging, is to use the wired headphones that came with your iPhone as a mic. An even better option is to get an external microphone that plugs into the iPhone’s Lightning port. You can find shotgun mic options that mount on your phone that you can point at your subject. You can also get a microphone with a long cable that your subject can clip to a shirt.
If you use a third-party app like Filmic Pro, you can use a Bluetooth mic as the source of your audio, and that includes Bluetooth earbuds like the
AirPods
, AirPod Pros or Beats wireless models. Of course, many dedicated video mics work better, offer higher quality and don’t look as strange.
One “hack” I’ve done in a pinch is to use a second iPhone and a pair of wired headphones. I have my subjects place the microphone part of the headphones near the collar of their shirt and run the cable under their clothes. I plug the headphones into a second iPhone, which they use to record the audio, using the voice memo app. Then later in iMovie, Premiere, Final Cut Pro or Resolve, I use the audio from the second phone and replace it or mix it with the audio straight from my phone.
13. Video tip potpourri, a la Jeopardy
So those are my 12 tips for better iPhone video. But I’m not going to stop there. Time for a speed round of Video Tip Potpourri, a la Jeopardy.
- Keep an eye on how much storage you have on your phone while shooting so you don’t run out.
- Have a backup storage plan for important videos, like iCloud or Google Photos.
- Turn gridlines on for framing and keeping things level. No Dutch angles.
- Stabilize your phone by putting it on a flat surface, tripod or gimbal.
- Get a case or cage to protect your phone and make it easier to grip and add accessories.
- Buy lenses to make your phone more versatile.
- Buy an external microphone, either wired or a wireless lavalier.
- And lastly, clean your phone and lens.


Recent Comments