Recently I was hired to film a marketing video for a $12 million dollar yacht. Initially, I thought my professional Sony cameras would do the heavy lifting but to my surprise, the GoPro Hero 11 Black became my main camera. Today I break down some of my favorite accessories and the shots they helped me capture.
Today I find myself shooting more and more video work, but because photography is still my main passion, I rely on digital cameras that excel in both stills and video. With awesome video features found in cameras like the Sony A7s III, it just doesn’t make sense to build out two completely different systems when a single camera can produce 99% of the footage I need on either shoot. That being said, when I was hired to film an action-packed promotional video for the new 80-foot Sunreef Catamaran docked in our marina, I knew I would have to capture a ton of action sports. Therefore not only would I have to bring a few Sony cameras but I’d also need a GoPro or two in my bag.
The GoPro action camera has come a long way in the last 10 years. At the time of this article, we are using the GoPro Hero 11 Black which allows up to 5.3K video at 60 frames per second and 2.7K at 240 frames per second. For the last few years, all GoPro cameras are built waterproof which means you do not need to use any waterproof housings. However, when using most wide-angle action cameras, the trick to getting great footage is to place the camera right in the middle of the action and find creative angles to give the viewer a unique experience. This is where having a box or bag filled with the best GoPro accessories can really make or break your shoot.
Below I’ve outlined some of my favorite accessories I used for this Sunreef Catamaran shoot, and a few of them I wound up buying after the shoot once I realized how useful they would have been out on the seas. Unfortunately, our final video for the Nauti Nickel hasn’t been published yet but if you want to see our behind-the-scenes video of filming this crazy boat, make sure you subscribe to the Fstoppers YouTube Channel to be notified when it comes out.
GoPro Floaty
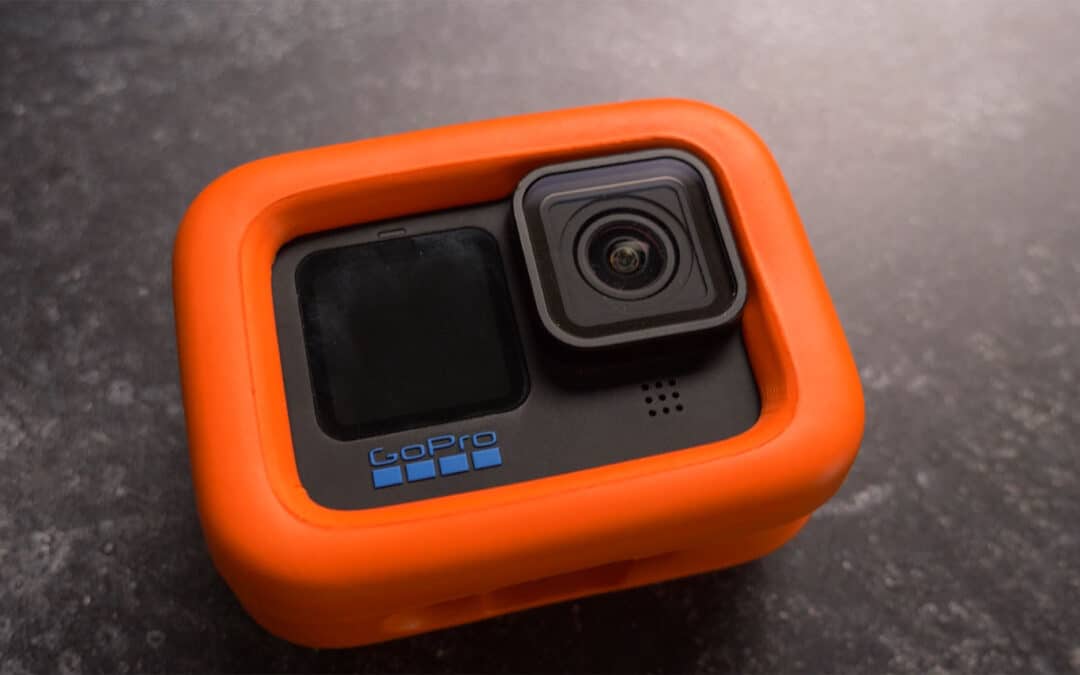
This foam GoPro Floating cover is essential if you are filming in deep water and run the risk of having your camera fall into the ocean. I did not actually own this when we filmed this project but it was the first thing I picked up from BH Photo when I got back to the studio. Not only does it prevent your GoPro from sinking but it also makes it easy to see if you mount it on an athlete or one of their wakeboards, surfboards, or kiteboards. If you enjoy mounting your GoPro to precarious locations on land, it also serves as a protective piece that will prevent your camera from getting scratched up if it winds up hitting the ground.
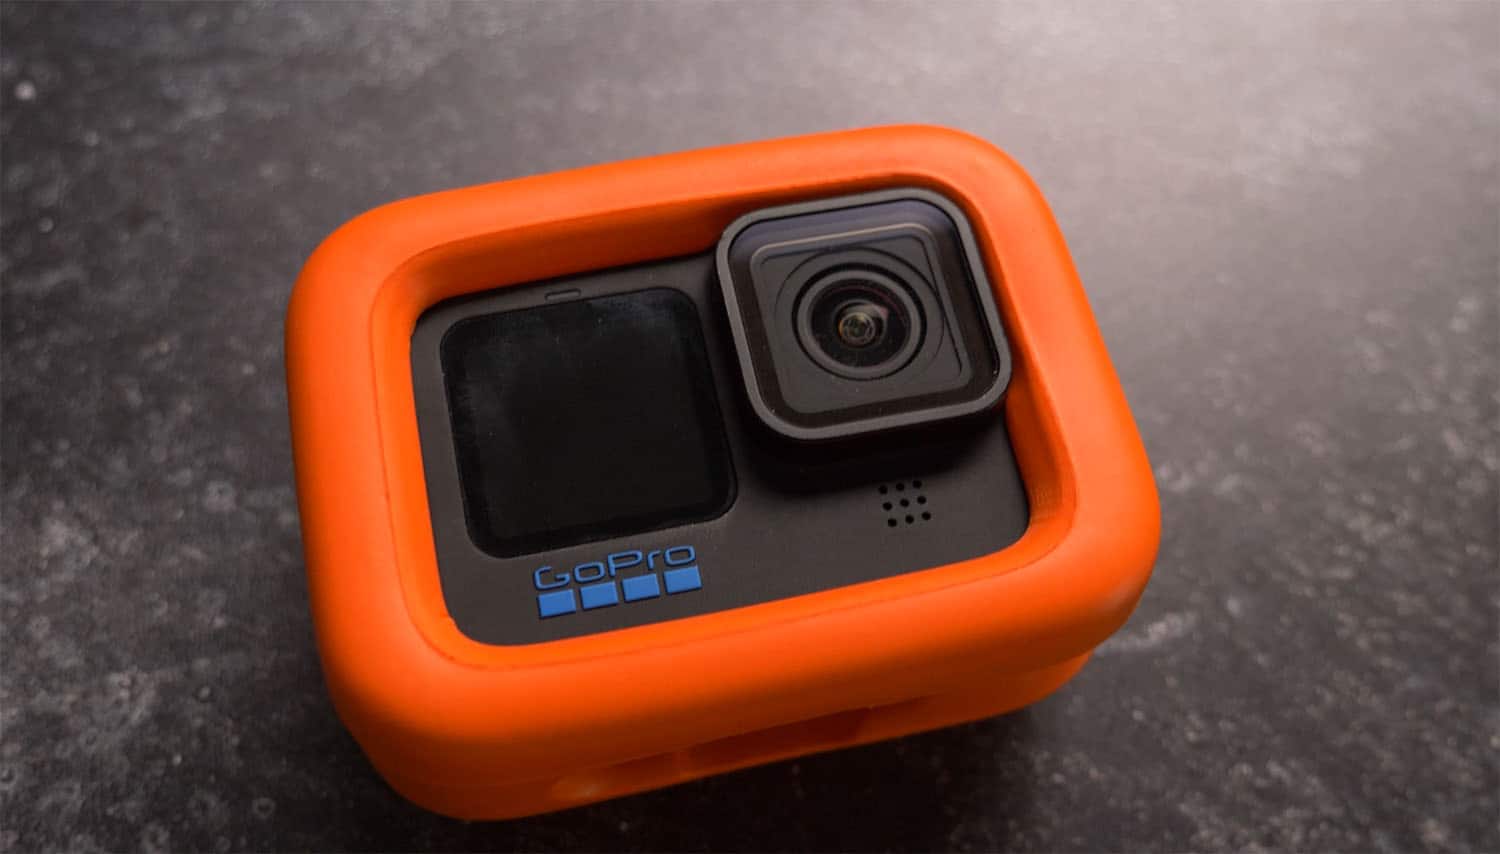
If you need a float that is more universal and can mount to other accessories that might find themselves in the ocean, check out the Nordic Flash Float Straps.
Tripod Mounts and Extension Pieces
One of the most useful pieces of grip you can have on hand for your GoPro are the standard tripod mounts, 1/4″ mounts, and extension arms. These pieces are absolutely essential in getting your camera in the correct position for epic photo and video clips. As I mention in the video above, not all of these are created equal, and I’ve found these plastic pieces allowed me to lock my camera in place where as the more “durable” aluminum pieces I bought wouldn’t tighten enough to secure the camera during big movements. My suggestion is to buy a bunch of these pieces and always have them on hand in case one breaks, salt water destroys the threading, or if you run multiple cameras at the same time.
Suction Cups
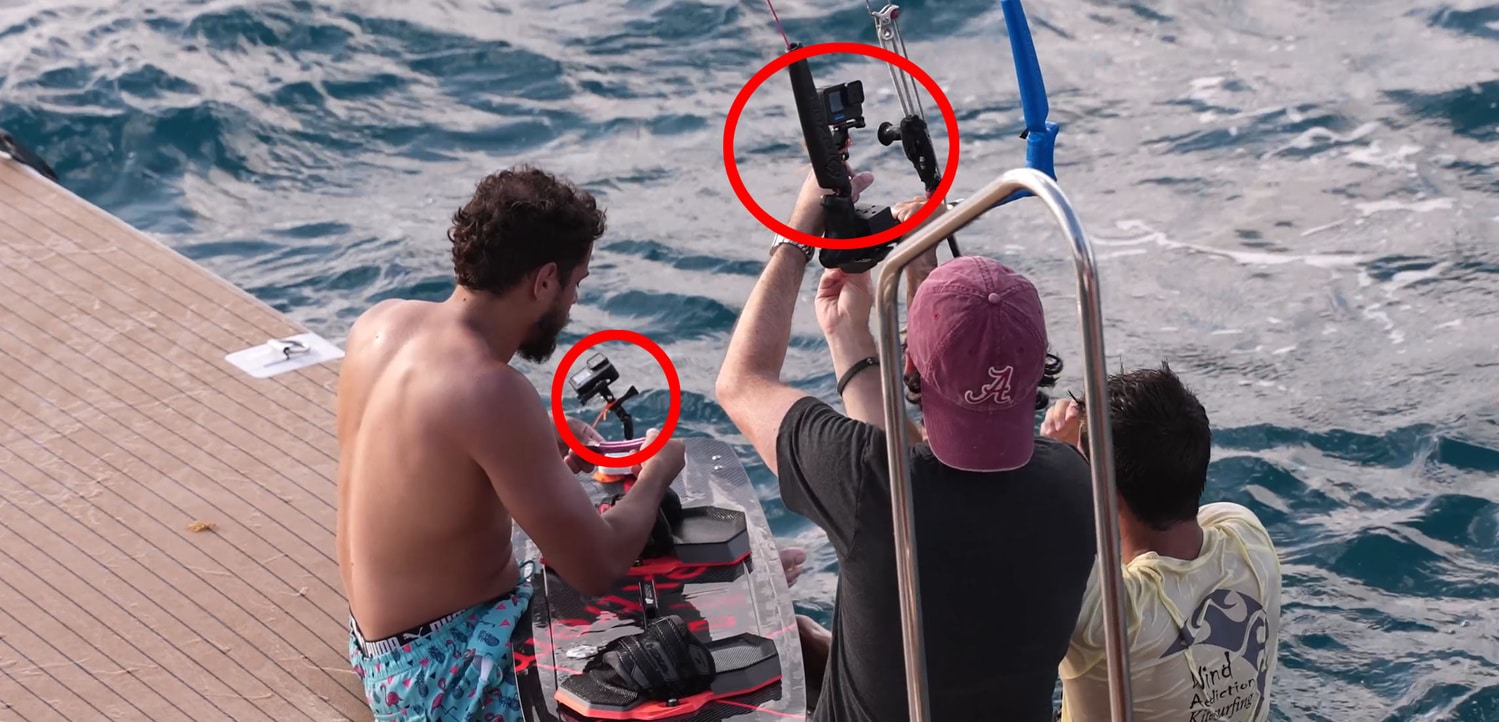
One piece of grip that is extremely useful when mounting a GoPro camera is a good suction cup. These are perfect for mounting to the smooth fiberglass of a boat, the hood or roof of a car, or in this case the back of a kiteboarder’s board. I’ve had several suction cups but the two that I used on this shoot were the Bodhi Floating Suction Cup and the SmallRig Camera Dual Suction Cup. These worked relatively well on most smooth surfaces we mounted them to but I think down the road I will invest in a more powerful suction cup for mounting to water toys that come in contact with moving water like the electric foil, kiteboards, and wakeboards.
The SmallRig suction worked well for the most part but if someone takes a bad crash and the camera hits the water hard, I’m not sure the suction will always hold in place. Because of this make sure you always use some sort of safety tether like 100-pound test fishing line to guarantee the camera stays attached even if the suction fails.
Magic Arm and Clamps
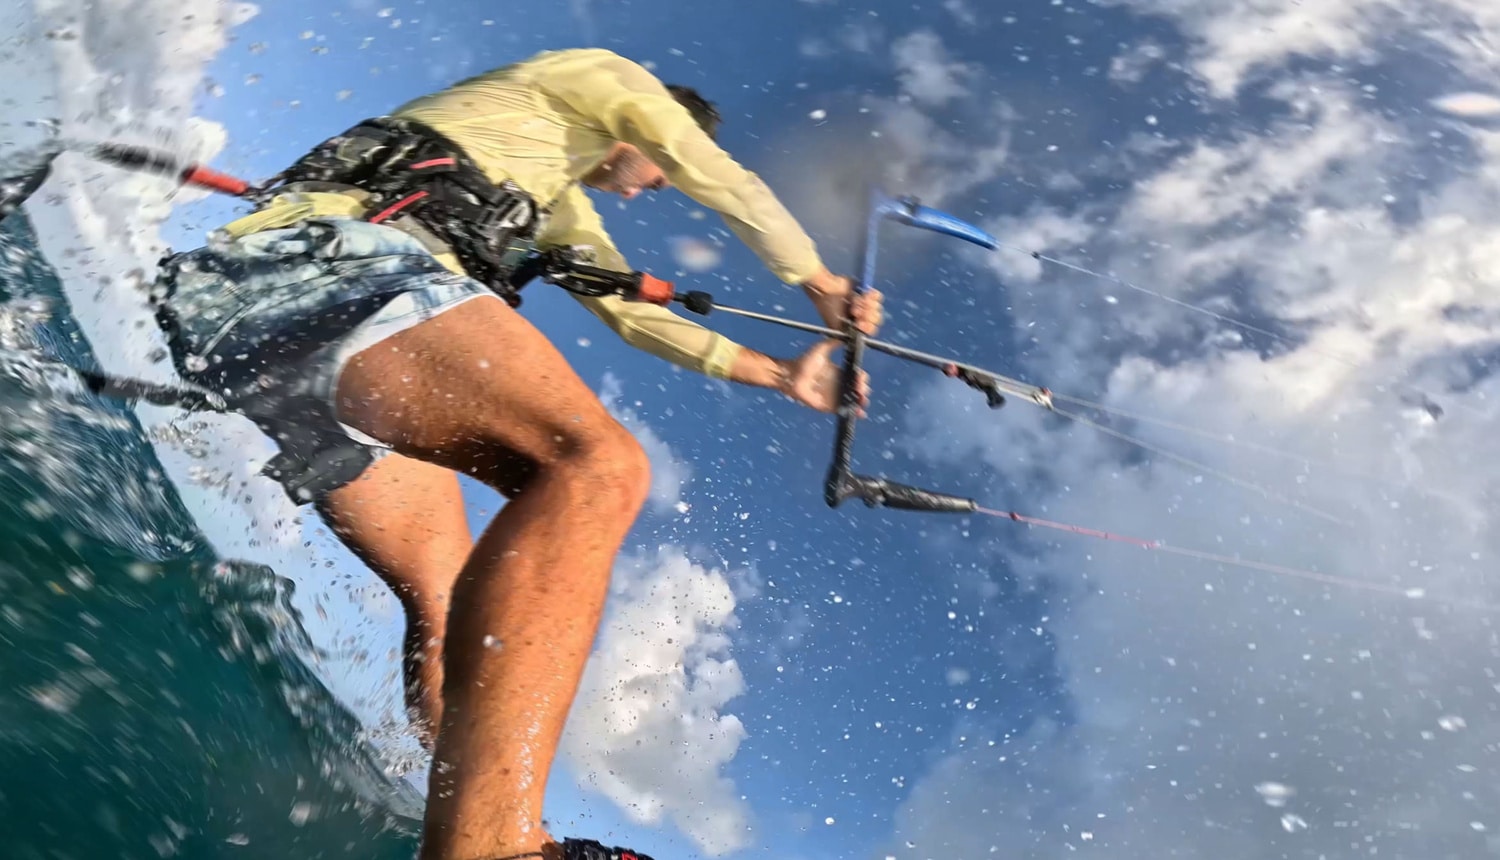
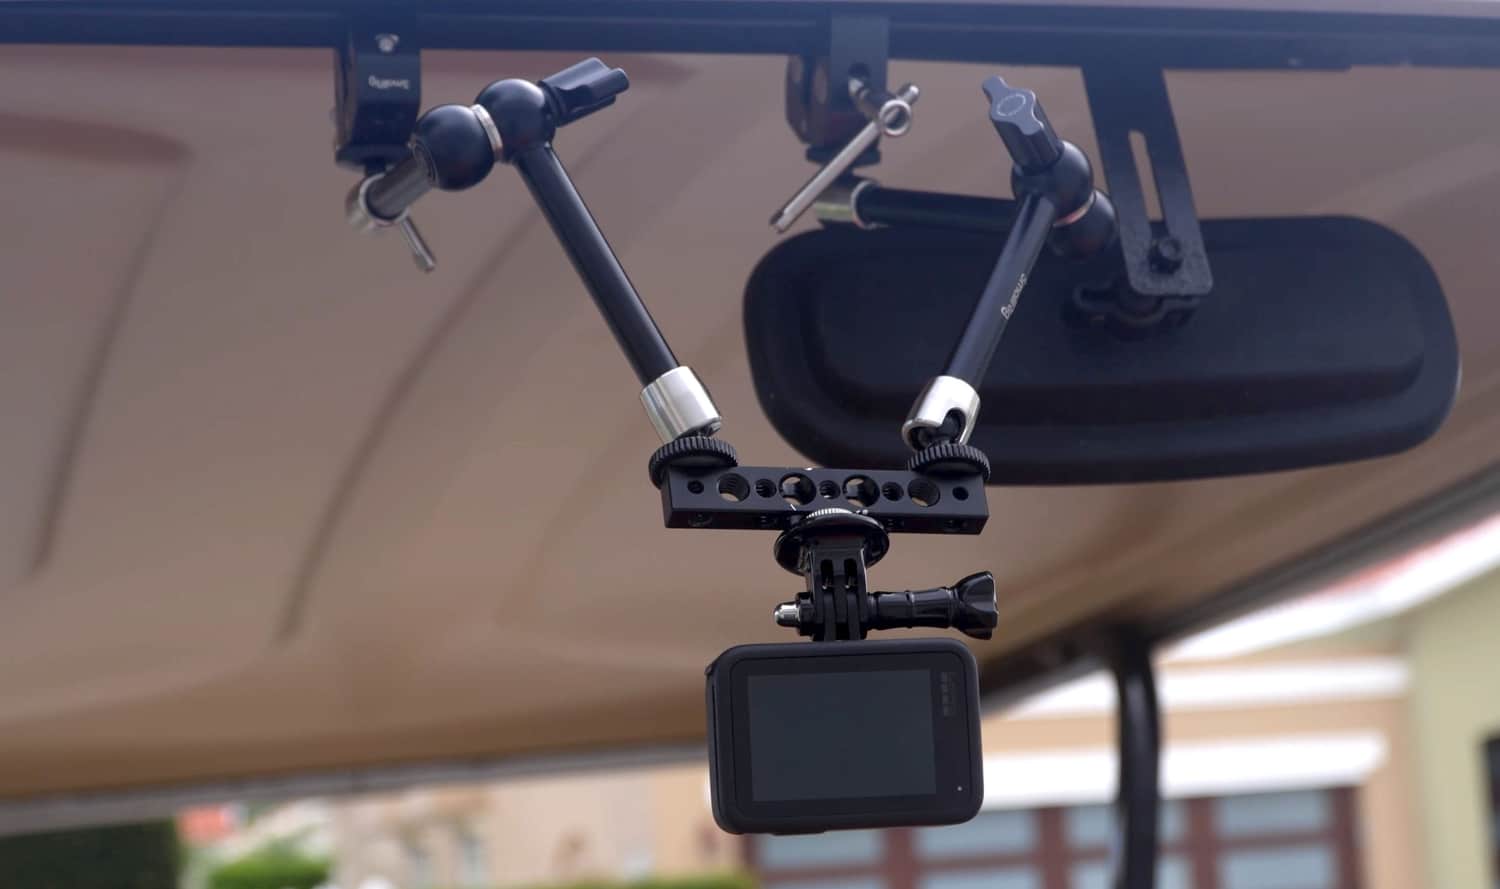
Many of the shots I wanted to capture only really work if the GoPro is mounted 6-12 inches away from the nearest mounting location. Some of the best mounting locations were found on a jetski handlebar, the back binding of a wakeboard, or the bottom propeller of an electric foil. In order to safely and securely mount the camera at the perfect distance, you are going to need some sort of extension arm.
For me, the SmallRig 9.8-inch magic arm and clamp were lightweight yet strong enough to make many of these shots possible. Although I didn’t have two of these arms during this shoot, I wound up buying a second one along with a SmallRig Cheese Plate. With this combination, I can now build a stronger mount by using two arms that are screwed into the cheese plate. This system reduces a lot of bounce and flex that inevitably can be seen when using a locking arm bracket.
The Selfie Stick
Perhaps the most useful accessory anyone can have when filming with a GoPro is the notorious selfie stick. As mentioned previously, the main goal when filming with a GoPro is to get the camera close to the action. If you can’t mount the camera close to the action, the next best thing is holding the camera near the action, and instead of putting yourself in harm’s way, the selfie stick allows you to stretch the camera a good 4-6 feet while keeping you safe from a collision. Some of my favorite shots were using the selfie stick as a jib arm while riding on the back of a jet ski. This basically turned my camera into a crane where I could lower it into the water and raise it up out of the water for some pretty cool reveal shots. It was also easy to hand the camera off to some of the teenagers and let them film themselves having fun too.
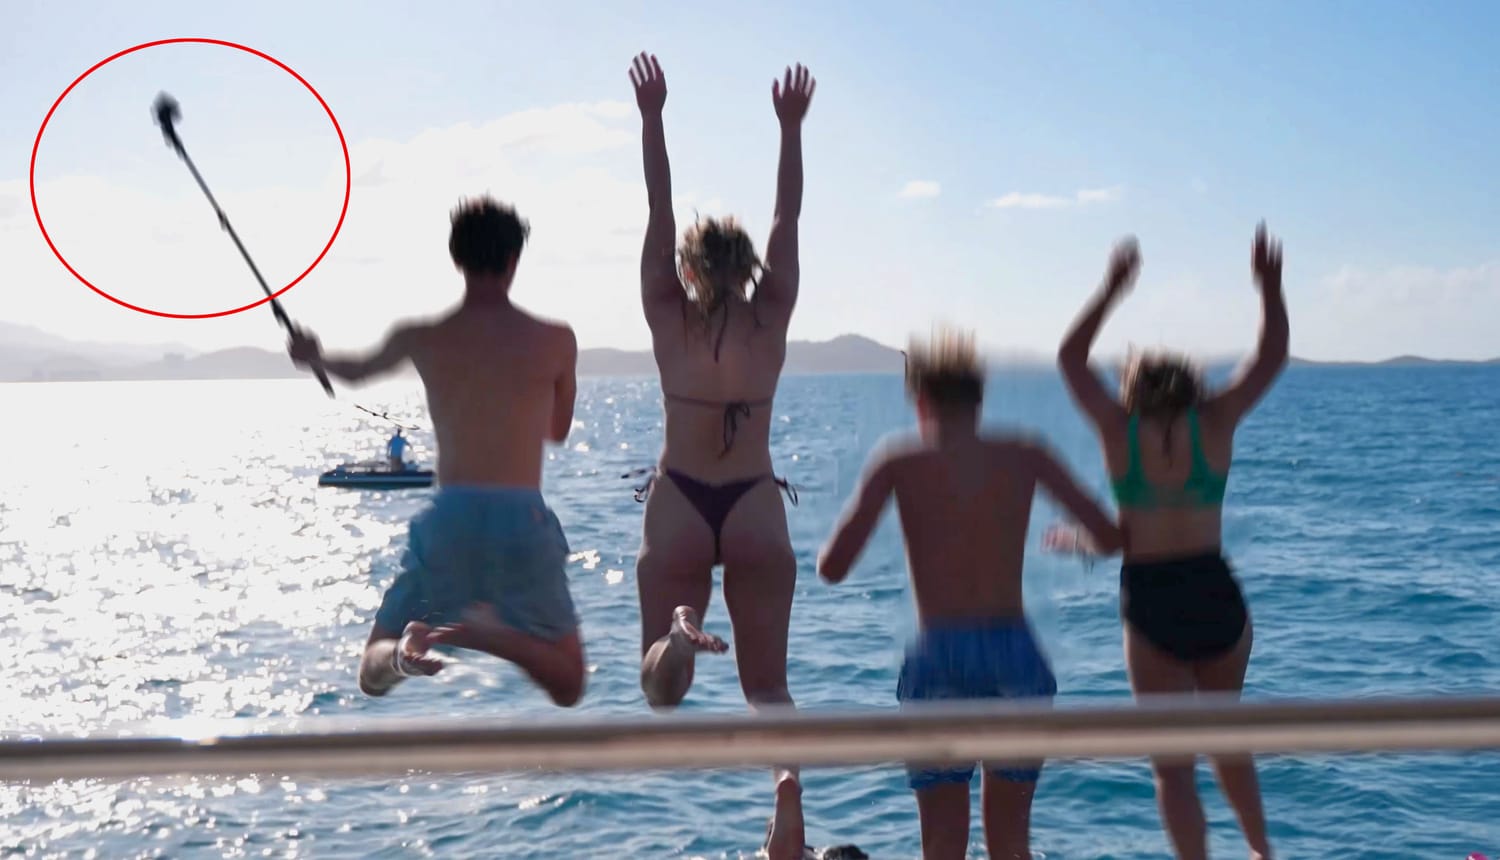
If you want to take your action videos to the next level and hide the selfie stick altogether, check out the Insta360 X3 camera. This crazy camera films a full 360 degrees around you and the software masks out the attachment point so it looks as if the camera is following you on a drone. Once you capture the footage, you can either upload it with the full 360-degree view or select a more traditional angle after you review the footage.
Capture Both Above and Below Water
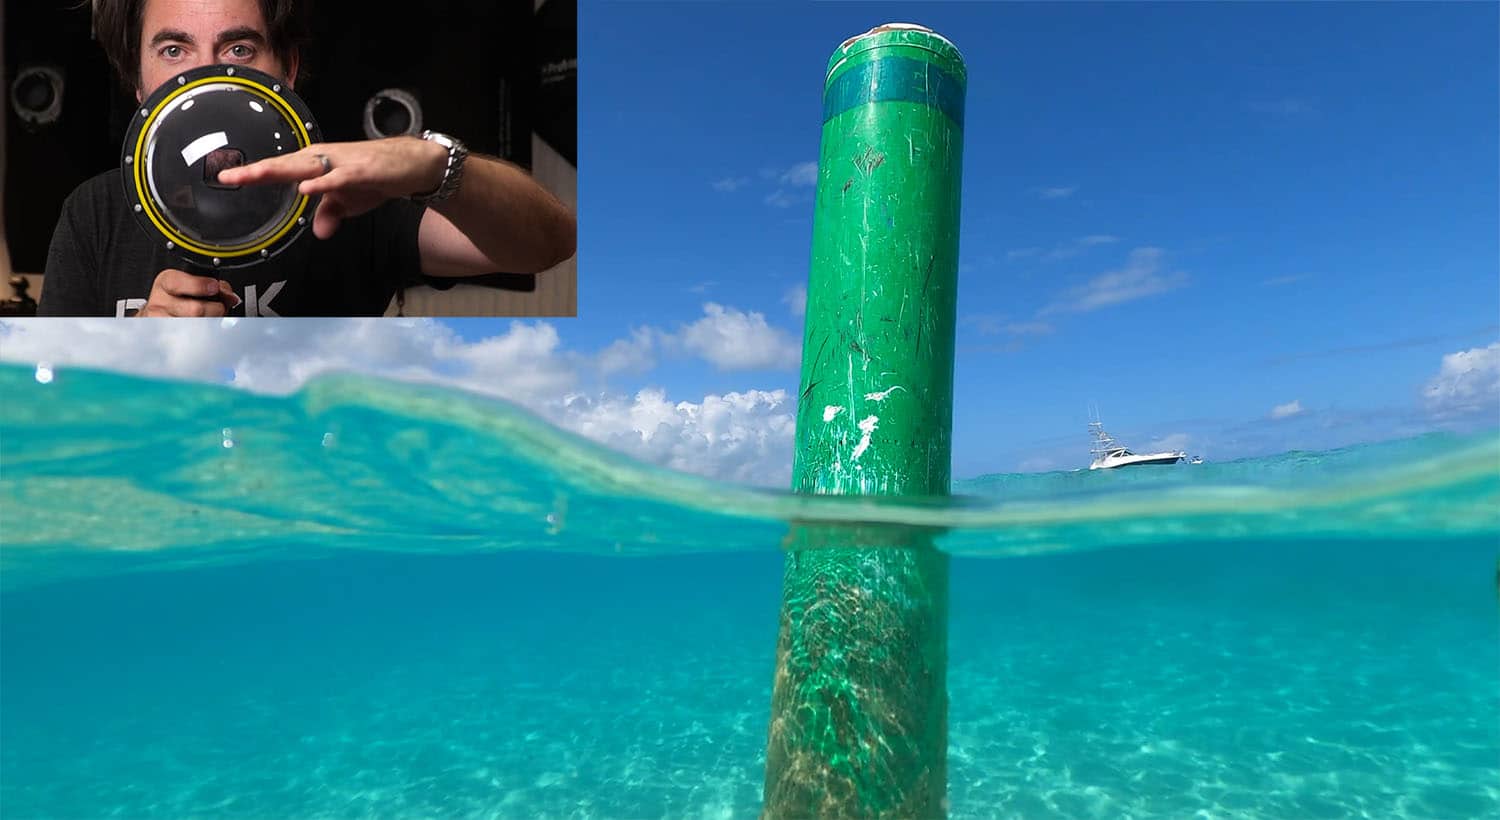
The last really cool GoPro Accessory I’d recommend is the Underwater Dome Port by Telesin. Unlike most of the other tools mentioned, this dome port needs to be made specifically for your model of camera. Basically, it creates a few inches of air in front of your lens by placing an enclosed plastic dome around your camera. Now when you place your GoPro directly on the water line of an ocean, pool, or lake, your camera can see partially above and below the water all in one shot. Unfortunately, I did not have the correct Telesin Dome for our GoPro Hero 11 so I wasn’t able to use this interesting accessory on our mega yacht trip but I have used one in the past with an older GoPro. There is a learning curve and it’s easy to get the “raindrop” effect on much of your footage, but when it works perfectly, the final shots are unlike anything you typically see with a standard GoPro.
Those are my favorite GoPro accessories that I use on a regular basis, but I’m curious to know what other tools you have used to capture awesome extreme sports footage. Which of the ones mentioned above do you find to be the most useful? Hopefully, this little mini guide can help you improve your own photography and videography shots taken with a GoPro.
If you are just getting into filmmaking and maybe are only using a simple iPhone, GoPro, or Mirrorless Camera, definitely check out the Fstoppers tutorial Introduction to Video: A Photographer’s Guide to Film-making.
In this 7-hour video tutorial, we teach you everything you need to know to start producing high-quality videos for weddings, commercial clients, and online platforms like Youtube and Instagram. As a valued Fstoppers reader, you can also use the Discount Code “YouTube” to save 15% off this educational tutorial.

Recent Comments